The native Photos app in Windows is not just a photo viewer – it can edit, too!. You can also perform several types of edits on your images without opening them in a separate app.
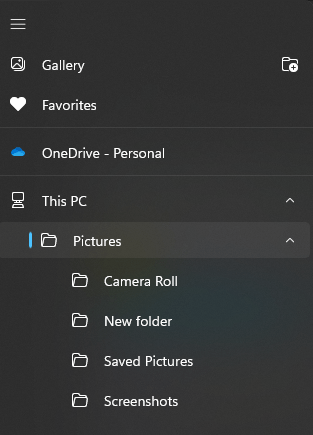
If the Photos app doesn’t open when you double-click an image file, another app may be set as the default for images. Go to the Start menu and search for Photos to open the app. Then click on the menu icon in the upper-left to navigate to the desired image.
Resize Image
To resize an image, click on the three-dot menu (not Edit) at the top and select Resize image.
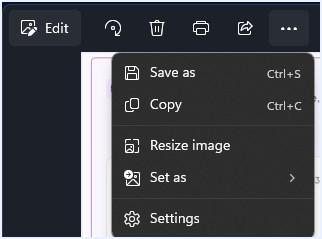
The next screen has several resizing options:
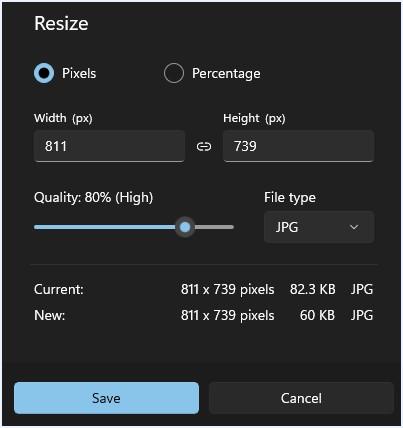
- Choose to resize by pixels or percentage (radio button)
- By default, the aspect ratio is locked. Click the chain link to unlock the aspect ratio and edit width and height separately
- Choose to maintain full quality or reduce quality to save space (slider)
- Choose to save as a different file type (drop-down menu)
Other Edit Options
More editing options are available from the main menu. Click Edit in the top left on the main screen to access the menu. Options appear above the image.
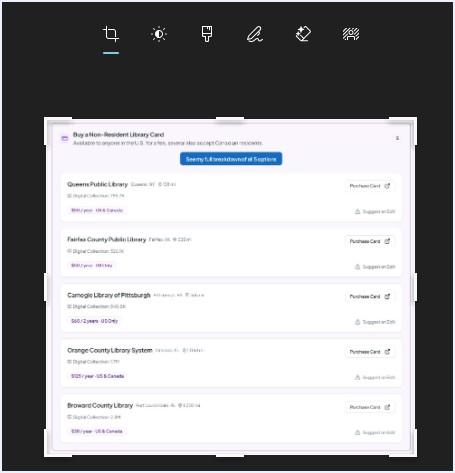
- Crop: Selected by default. Click and drag an edge or corner to crop
- Light and Color: Change the brightness, contrast, saturation, hue, tint, and more
- Filter: Apply a filter to change the look of the image
- Markup: Draw on the image
- Erase: Erase markup or parts of the image
- Background: Remove the background
Saving Your Edits
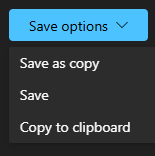
When an image has only been resized, saving it will create a new copy. If you apply any other edit options, you can choose whether to save a copy or save the edits to the original.
Summary
You may not need fancy photo-editing software to make simple image edits. The native Microsoft Photos app in Windows offers many basic editing options.